
 NL
NL DE
DE BE
BE DK
DK AT
ATInfocenter
Technical drawings
Click on the brand and find the desired technical drawing.
 Yamaha
  Honda
Honda  Zundapp
  Kreidler
  Puch
Puch  Tomos
Tomos 
![]() Vespa
Vespa ![]()


Weblog
-
 Tomos A35/A3 sprocket ratio
If you ride a Tomos, you know that sprocket ratios ...
-
 Puch Maxi Sprocket Ratios
If you ride a Puch Maxi, you know that gear ratios ...
-
 How do you paste stickers?
Here you will find an explanation of the best way ...
-
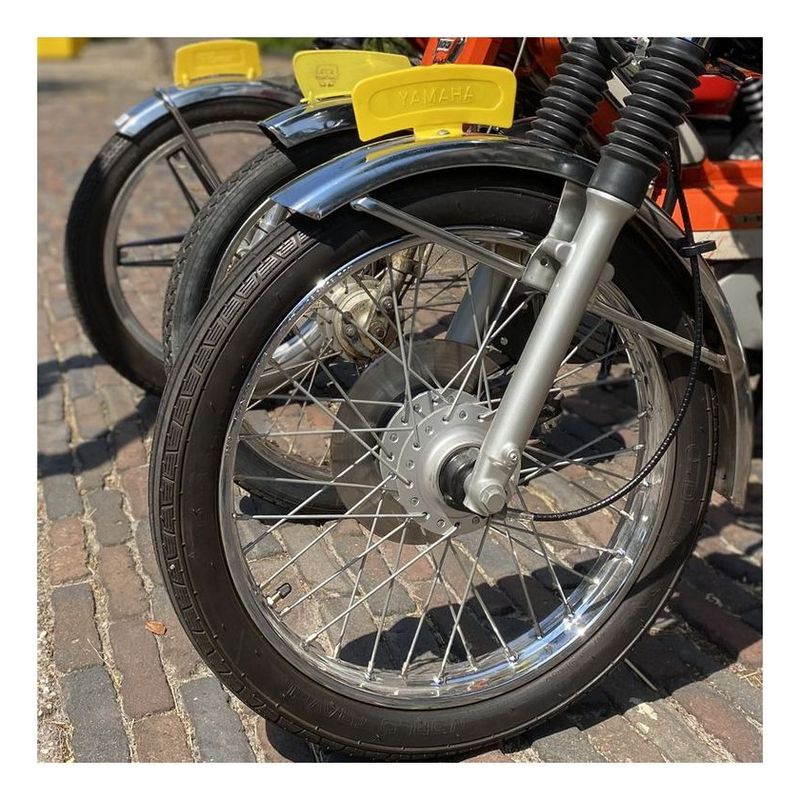 How to read tire and rim sizes?
Tires are indicated in 2 different sizes. Me ...
-
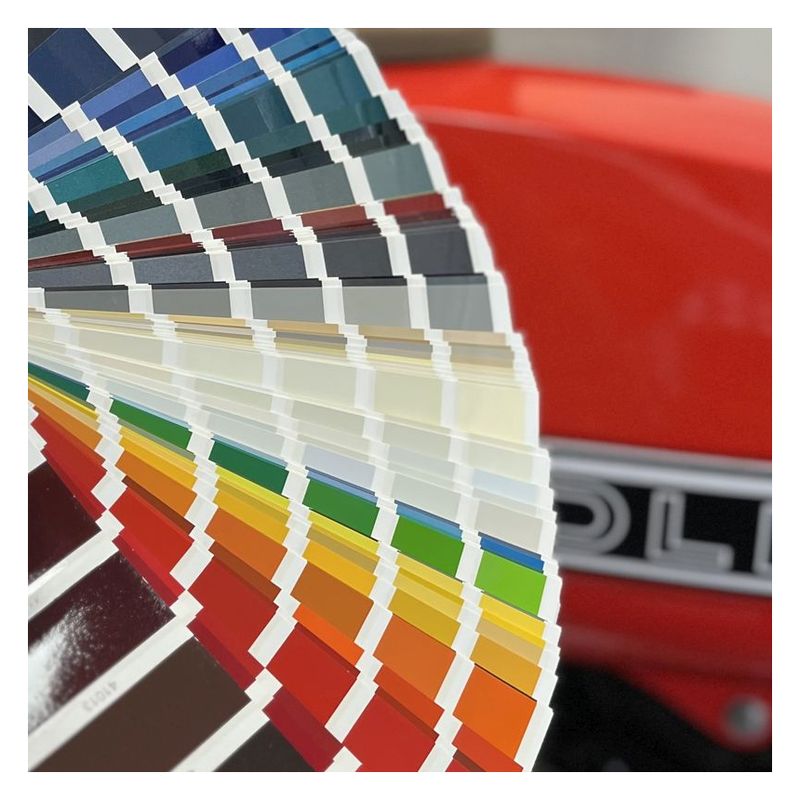 Known RAL Colors
Here you will find the RAL colors we have collecte ...


FAQ
Below you will find a collection of links, partners and forums of well-known brands.
BromfieTTs
With your own moped on the TT track in Assen - 03-07-2022
Unior Tools

Kreidler
A Forum full with info, all about Kreidlers!

Zundapp

Vespa Ciao / SI / Citta
A great club of Vespa owners, mostly Ciao but also you can find a lot of info about Vespa SI, Bravo, etc.

Gilera Cita

Yamaha FS1

Rent here an Zundapp or Kreidler

For lining an Buddyseat and more;

Motormarkt Hardenberg, Big market in pars an mopeds & motorcycles.

Central Classics, The oldtimer exhibition in the heart of the Netherlands.

German Forum 50CC Mopeds, 50-er Forum.

Austrian Moped forum, Mofaforum.at

Rustyco, Remove all rust!


You can determine de size by measuring your head with a tape-measure, make sure to measure about 2 CM (0,8 inches) above your eyebrows.
In the table below you will find the right size.
Please note that the helmets from the model 'Custom Rider' always slightly smaller fit then you think, we advise you to order this specific helmet 1 size bigger.
53/54cm = xs.
55/56cm = s.
57/58cm = m.
59/60cm = l.
61/62cm = xl.
63/64cm = xxl.
If you ordered a helmet and it appears not to fit, this can be exchanged of course. Make sure the helmet stays undamaged and unused.When you want to return send a helmet always use an extra box around the original box. Just sending the helmet in its original box is not sufficient enough, it is with an extra box around it. This way the helmet and its original stay in good shape. When helmets are returned in their original box without an extra box around it, we will charge 25% of the price.
General:
1. Take time for pasting stickers, adhesive letters and lettering.
2. Make the surface clean and free of grease. Use alcohol.
3. Possible tools: spray bottle, cutter, window wiper, masking tape and detergent.
4. If possible, perform the work inside. For example, in a garage, make sure at that you can work dust and wind free.
5. The processing temperature of stickers is the best above 10 ° C.
6. Air bubbles can not always be avoided, but usually pull away. Possibly by puncture with a needle.
Action:
1. Roll the sticker and place them in order of how you want to paste.
2. Caution! Your sticker usually consists of two parts, one application tape (this is usually transparent or white) this allows you to place the sticker (set) on the desired location.
3. Determine the best location for the stickers and paste it with masking tape on the side of the sticker on the moped.
4. Remove the backing paper by pulling diagonally. Away from the text Slowly pull so that time gets to come loose.
5. Mist with a spray bottle or similar both the back of the sticker as the substrate on which it should be wet (use less than a drop of detergent per liter water). Too much detergent is worse than NONE.
6. Keep the two separate corners of the sticker tightly and fold it down into place.
7. Rub gently from the middle of the sticker the water under the sticker off (possibly use window weeper) and make sure that no sand or dust is on sticker.

Comments:
If necessary. you can paste stickers DRY. For this you do need some experience.
Good luck and have fun with our stickers.
We'd love to hear about your experiences so we JMPB Parts, so we can adapt if necessary
Paint over:
All our stickers are suitable for repainting. We also recommend spraying a coat of clear varnisch over the decals. This protects them better against fuel and they can be made more glossy or matt as desired.
See here our clear varnish
The sizes of tires we sell are indicated in 2 different sizes. Metric, like for example 80/90/17 and inches like for example 2.50X17. 
Metric
For metric sizes, the first number stands for the width in mm, the second number represents the height of the tire as a percentage of the width. The third number stands for the inch size of the rim.
For example, an 80/90/17 is 80MM wide, 72MM high (90 percent of 80) and has an inch size of 17.
Inch
For inch sizes, the first number stands for the width in inches ( one inch is 2.54 CM ), the second number stands for the inch size of the rim.
For example, a 2.50 X 17 is 63MM wide (2.50 X 2.54CM) and has an inch size of 17.
Below you will find a comparison table with the relevant sizes. This can be useful, for example, if you now have a tire with an inch indication and would like a tire from our range that has a new size.
From Inch to Metric
- 3.00 X 12 = 80/90/12
- 2.00 X 16
- 2.25 X 16
- 2.50 X 16 = 70/90/16
- 2.75 X 16 = 80/90/16
- 2.00 X 17
- 2.25 X 17 = 70/90/17
- 2.50 X 17 = 70/90/17
- 2.75 X 17 = 80/90/17
- 3.00 X 17 = 90/90/17
New and old tire sizes
Some old tires that come off an old moped still have an old way of sizing on them. Below you can see the new dimensions and the old designation so that you can choose the right replacement.
- 2.75 X 17 = 21 X 2.75
- 2.00 X 17 = 21 X 2.00
- 2.00 X 19 = 23 X 2
- 2.25 X 19 = 23X2X2.25
- 2.50 X 19 = 23X2X2.50
Rim sizes
We also have rims in different sizes, these are the same in inch size but different in width. 
Therefore, below is an overview of how a rim size can be linked to a tire size:
A 1.20 rim is 44mm wide for a tire size of 2.00/2.25
A 1.35 rim is 48mm wide for a tire size of 2.25/2.50
A 1.50 rim is 55mm wide for a tire size of 2.75
A 1.60 rim is 58.50mm wide for a tire size of 3.00
A 1.85 rim is 68mm wide for a tire size of 3.25/3.50
A 2.15 rim is 76mm wide for a tire size of 3.50
A 2.50 rim is 83mm wide for a tire size of 4.00
For example: A 1.60X16 rim needs a tire size 3.00X16
These sizes apply to the most common rims, of course something can be deviated from
We collected RAL colors, these correspond well with the original colors. When the original RAL color is known the color corresponds well, keep in mind that the color on your moped is affected by the weather through the years. When no RAL colors was known an matching color is found, a 100% matching color it's unfortunately not, but they come very close.
We provide certain colors both alkyd and acrylic paints. Acrylic paints are easier to spray, they are water-based. The Alkyd paints are turpentine based. Make sure that the appropriate primers and possibly clear paints are used. You can not use an acrylic primer in combination with an alkyd paint this eats away. Vice versa is also not possible.
Puch Colors


Kreidler Colors


Honda Colors
 |
Honda Tihitian Red RAL 3020 |
1. Place the piston at 2 to 4 mm before its most upper position. (OT) → see image 1
2. Fit the rotor and the stator so that both markings are aligned.
► for right rotating: 2nd large marking from the left → see image 2
► for left rotating: 2nd large marking from the right → see image 3
Attention: also mind the position of the HPI Logo on the rotor. Don’t tighten the screws yet.
3. Make sure that the piston is in position and the markings are aligned.
If necessary, make adjustments by rotating the base plate of the stator.
4. Tighten all the screws.
5. Connections:
► the 3 pole connector of the stator to the 3 pole connector of the CDI
► the orange cable from the CDI to the HT-coil
► the HT-coil must be attached to the frame for mass, together with the black cable
► the black/white cable to the on/off switch
► the optional yellow and yellow/blue cables are for selecting a curve;
● cables loose → curve 1
● cables connected → curve 2

REMARKS:
► to gain performance, you can try to vary between the 2 to 4 mm setting.
► HPI can deliver a switch to put between the optional yellow and yellow/blue cables,
making curve-selecting easy.
► the optional yellow and yellow/blue cables may never come in contact with the frame/mass !!!
You can find all our Tankcure products here.
What can you achieve with our Tank Sealant?
- Cure rusted tanks
- Stop leakage through seams and pinholes
- Preventive treatment against leaking seams, pinholes and the build up of rust
- Shield off pollution in oil tanks (after sandblasting)
Treatment of the tank before application of Tank Sealant
In order to guarantee a good result you always have to do some preparation on your tank Before you apply the sealant the tank should be absolutely dry, free of grease and almost free of rust. "Tank Cure has products that will assist you in the preparation of the tank.
- Tank Cure Tank Cleaner
- Tank Cure Tank Rust Remover
- Tank Cure Epoxy Remover
These products form an ideal base before you apply our tank sealant. We will briefly highlight each product:
Tank Cure Tankcleaner
This is a strong claening fluid to degrease your tank. We advise to always use this product because it will guarantee a good adhesion of the sealant to the surface of the patrol tank. Especially if you apply the sealant in a tank for a two stroke engine it is nessesary to use the tank cleaner first.
Tank Cure Roest verwijderaar
Tanks with a rusted interior can be treated very succesfully with this product. We advise to use the Rust Remover if the inside of your tank is severely rusted.
Tank Cure Epoxy Remover
This product will remove all old layers of pait and/or sealants. Only use this product if you would like to apply a new sealant or if you plan to weld on your tank. You only need this product if you like to remove old layers of sealant or paint or if welding is needed on a tank that has sealant inside. For a motorcycle tank you will need 1/2 a litre of Tank Cleaner and 1/2 a litre of Rust Remover.
Frequently Asked Questions
When do I treat a tank with sealant?
If it is rusted or has leaking seams or pin holes. After your tank is re-chromed it will rust very quickly. It is advisable to apply a sealant immediately after your tank has been re-chromed
There are several different products on the market. Which one to go for?
Take a product that has been on the market for some years and has built up a good reputation. Don't use only the sales man's word. With Tank Cure we have 18 years experience.
How much sealant do I need?
Make sure you always have sufficient sealant to treat the whole of inside.
As a guide:
Tank up to 20 litres (up to 4.5 gallons): 450 grams
Tank up to 50 / 60 litres (up to 10 / 12 gallons) 600 gram
There might be some slight variation, depending on the brand of sealant used. Don't forget you must treat the whole of the inside of the tank, not just the bad spots.
If I need to weld my tank in the future or wish to change the shape of my tank, what will happen to the sealant?
In general all sealants will melt at temperatures above approx. 150 C. making a welding job impossible. It is advisable to go for a sealant that you can remove. Tank Cure has a special remover for this situation.
Do I go for a single or two component sealant?
A two component product is less sensitive to other problems such as temperature and humidity. Look at the professional world where paint and fillers are all based on two or even more components to guarantee a certain result within a given time span. With a two component sealant the cure time is set off by the chemical reaction between the components. It is questionable if the remains of a single component sealant will cure in a enclosed environment such as a petrol tank especially if you can not drain all of the surplus out of the tank.
Will sealant cure small pin holes?
Most of the available sealants will cure small holes. Tank Cure is a proven solution. Advice: in general it is preferable to weld or solder holes that exceed 2 millimetres. Use sealant after this has been done.
Do I apply the sealant before or after the tank receives new paint on the outside?
The easiest way is to apply the sealant first. There is no risk of damaging the fresh paint when you apply the sealant first. If however, the paint job involves temperatures above 100o C do the paint job first to prevent the sealant from melting. Ask for the sealant specification in this case!
Do I have to treat the tank before I apply a sealant?
Yes, always. A tank needs to be free of any grease before you apply a sealant. So take special attention if you use a two stroke petrol. If your tank is rusted take out as much rust as you can. Most of the suppliers of sealants have certain products that you can use to prepare your tank. As an example: Tank Cure Cleaner and Tank Cure Rust remover.
My tank has small tubes that act as an air vent. Can I still apply a sealant?
Yes. Seal off the air vents during the application of the sealant. When you take out the residue use an air compressor to free the tubes from sealant. Do this before the sealant starts to cure!
How long can I use it after I have mixed the two components?
You can work with it for half an hour. After 45 min. it will start to cure and hardens out quickly.
What is the colour of the Tank Cure sealant?
The sealant is transparent.
What to do if your product fails?
For steel tanks you can use the Tank Cure epoxy remover to take the sealant out. But remember: if you follow the guidelines the product will not fail!
Can I also apply Tank Cure sealant on the outside of the tank?
Yes, you can apply the sealant wherever you like. There is one precaution: the surface has to be dry and free of grease. The best option is to use it on the inside and treat the outside with an epoxy primer or epoxy filler.
I want to treat 2 tanks. Is this an option?
Yes. Use the 600 gram portion for two tanks up to 10 or 12 litres. The 450 gram portion will do two tanks smaller than 10 litres
1) Take an accurate pair of scales (digital) and take half of both components. Mix them for the first tank. Leave the rest for the second tank.
2) Prepare both tanks, clean them and take the rust out. First treat the tank with the smallest internal surface. This tank allows you to get all of the residue out. Turn the first tank for 15 minutes and drain off the residue quickly. Put the residue in the second tank and turn this also for 15 minutes before taking the residue out.
My tank has internal shields. Can I still apply sealant
Yes. Make sure to use sufficient sealant and try to cover the shields first before you do the "easy" surfaces like bottom and top of the tank. Try to imagine where the sealant is on the inside of the tank and take your time turning it in all directions.
My tank is rather dirty and rusted. What should I do?
First clean out the tank with cleaner. Get most of the rust out with the help of a handful of clean gravel. Then use rust remover. You can combine the gravel with the rust remover if you like. Follow the guidelines and apply the sealant.
My tank has a coating on the inside that has come loose. What is the solution?
You might give the Tank Cure epoxy remover a go. There is a good chance that it will help you out. Clean your tank with water let it dry and apply the remover. Wait a couple of days and see what happens. Follow the guidelines supplied with the epoxy remover.
I only used normal petrol in my tank do I still need to clean it?
Yes. Use Tank Cure Tank Cleaner for the best guarantee on the end result. Use white spirit as a minimum treatment.
I have cleaned out my tank with a different brand cleaner. What should I do?
ONever play around with different chemical products without cleaning the tank with water in between. Tank Cure Rust Remover is a diluted acid based product and should not be used in combination with another product.
We have many "Exploded view" drawings from different brands!
These and many more you can find in our Techcenter
Click on the brand and find the desired technical drawing.


![]()
![]()
![]()
![]()

Technical drawings, manuals and "exploded views"
Every owner of a classic moped knows the problem: you are working on a repair or restoration of your proud possession, but you no longer know exactly where a part fits or how to reassemble a clutch, gearbox, dynamo or front fork.
For all well-known classic moped brands
A technical drawing or even a complete workshop manual offers a solution. But where can you find it? Well, at JMPB Parts of course. It is not without reason that we are the largest online moped specialist in Europe. In our webshop you will not only find all parts of all well-known classic moped brands, we also supply "exploded views", technical drawings, manuals and manuals of brands such as Yamaha, Honda, Zundapp, Puch, Kreidler and Vespa.
Technical drawings are indispensable
Especially the technical drawings for mopeds are indispensable in any workshop. The drawings show exactly how a moped part is made, which sub-parts it consists of and the way in which each part fits together. This way you can disassemble a part with confidence. With the knowledge of the technical drawing at hand, you can be sure that you can reassemble the part afterwards.